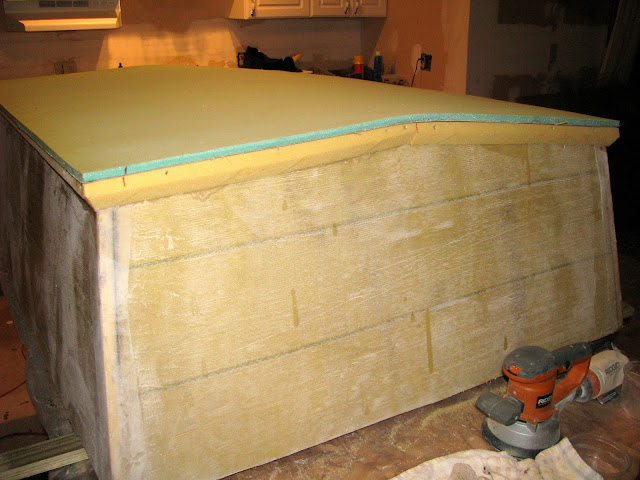
The best way to determine which panel - 6mm or 1/2" - to use was to install the glass tri-axial on one side of each. While this doesn't give the ultimate strength or stiffness, it does give you an idea of how flexible the finished panel may be. The 1/2" won the contest.
This was not the same material as that used for everything else, but marine grade PVC that was suitable.
To begin the roof, I applied the 36 ounce triaxial fabric and epoxy resin to one side of the 1/2". Once the framing and trim was ready for the roof panel, having the glass on one side only made it easy to fit the curvature and, once the panel was attached to the frame with epoxy, the glass could be applied to the roof skin.
 |
| With a liberal coating of thickened epoxy applied to the tops of the roof ribs, front, sides and rake and gutter trim, the roof is set in place and secured with screws to await epoxy curing. The roof panel is made about 1/4" too large in all directions to allow it to be trimmed flush with the trim. |


No comments:
Post a Comment